Adding a live chat widget to your website used to mean hiring a developer, waiting days for a deployment, and paying for an expensive enterprise plan. Not anymore. With Paperchat, you can have a fully functional AI chat widget live on your site in under ten minutes — no code required.
This guide walks you through the entire process from signup to your first conversation.
What You'll Need
- A Paperchat account (free trial available)
- Access to your website's HTML, or a CMS like WordPress, Webflow, or Shopify
- About 10 minutes
That's it. No developer. No special tools.
Step 1: Sign Up and Create Your Chatbot
Head to paperchat.ai and create a free account. Once you're in the dashboard, click New Chatbot and give it a name — usually your business name works fine.
At this stage you'll configure the basics:
- Chatbot name — what visitors see in the chat window header
- Welcome message — the first thing the bot says when someone opens the widget
- Fallback message — what the bot says if it can't answer a question
You can always come back and change these later, so don't overthink it now.
Step 2: Add Your Knowledge Base
Your chatbot needs to know about your business before it can help visitors. Paperchat lets you add content in several ways:
- Paste a URL — Paperchat crawls your website and learns from your existing pages
- Upload documents — PDFs, Word docs, or plain text files work great for FAQs, manuals, or product guides
- Type content directly — useful for quick answers to common questions
For a first setup, the fastest option is to paste your homepage URL and let Paperchat crawl your site. It typically takes under two minutes to process a standard business website.
Step 3: Customize the Widget Appearance
Click into the Widget settings to make the chat widget match your brand:
- Choose your primary color (pulls from your brand palette)
- Upload your company logo or avatar
- Set the widget position — bottom-right is the convention most visitors expect
- Write a short tagline that appears before the chat opens (e.g. "Ask us anything — we reply instantly")
Small branding details like these increase the chance that visitors actually click and engage with the widget.
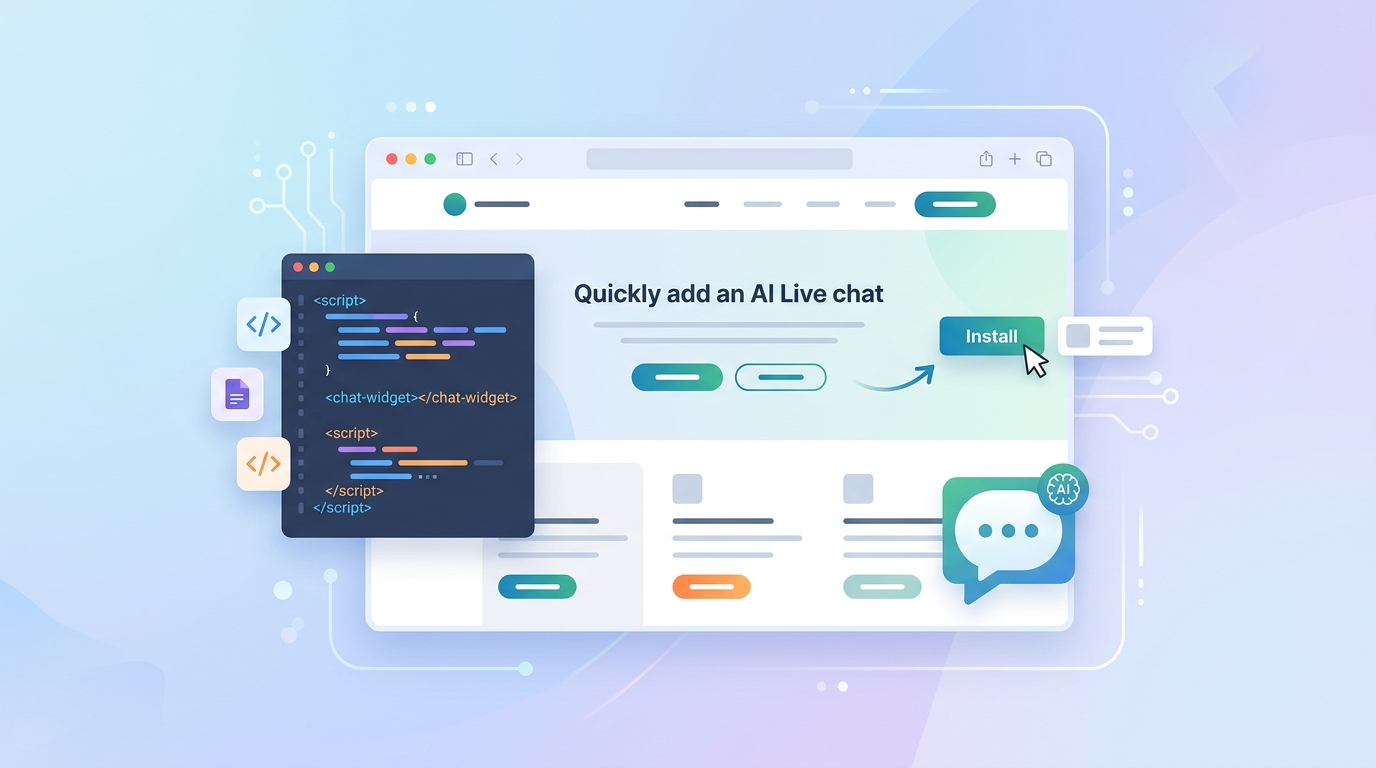
Step 4: Copy Your Embed Code
Once your chatbot is configured, go to Settings → Embed and copy the snippet. It looks something like this:
<script
  src="https://cdn.paperchat.ai/widget.js"
  data-chatbot-id="your-chatbot-id"
  async
></script>This one line is all you need.
Step 5: Add It to Your Website
How you add it depends on your platform:
WordPress
Go to Appearance → Theme Editor (or use a plugin like Insert Headers and Footers) and paste the script just before the closing </body> tag.
Webflow
Open your Project Settings → Custom Code and paste the snippet in the Footer Code section. Publish your site and you're done.
Shopify
Go to Online Store → Themes → Edit Code, open theme.liquid, and paste the script before </body>.
Any HTML site
Open your HTML file and paste the snippet before the closing </body> tag. Upload the file and the widget will appear immediately.
Step 6: Test It
Open your website in a browser — ideally in an incognito tab so you see it as a fresh visitor. You should see the chat bubble in the bottom-right corner. Click it and ask a question your customers would typically ask.
If the bot answers correctly, you're live. If not, go back to your knowledge base and add more information.
What Happens After It Goes Live
Once the widget is live, Paperchat handles everything automatically:
- 24/7 availability — the bot answers questions while you sleep
- Conversation logging — every chat is saved so you can review what visitors ask
- Human handover — if someone needs a real person, you get notified and can jump in
Most Paperchat users see their first automated customer interaction within hours of going live.
Common Questions
Will it slow down my website? No. The widget script loads asynchronously, so it has no impact on your page load speed or Core Web Vitals.
What if someone asks something the bot doesn't know? The bot will politely say it doesn't have that information and offer to connect the visitor with a human — or collect their email so you can follow up.
Can I have different chatbots for different pages? Yes. Paperchat supports multiple chatbots per account, so you can have a support bot on your help center and a sales bot on your pricing page.
Getting a chat widget live on your site really does take less than ten minutes. The harder part — and the more rewarding one — is training it well and watching it handle real customer conversations on your behalf. That's covered in the next guide: How to Train an AI Chatbot on Your Own Business Data.
More Articles
How to Capture More Leads with an AI Chat Widget on Your Website
Turn passive website visitors into qualified leads using Paperchat's AI chat widget — with proactive messaging, lead forms, and CRM sync.
March 29, 2026
How to Train an AI Chatbot on Your Own Business Data
Learn how to feed your website, documents, and FAQs into Paperchat so your AI chatbot answers like an expert on your business.
March 29, 2026